Account settings
Account-wide settings live under Settings, at the bottom of the sidebar. The sections above it act on the active workspace. Settings apply to the whole account.
| Tab | What it holds |
|---|---|
| General | The account name and your organisation’s context for AI work. See below. |
| Workspaces | Every workspace in the account. See Workspaces. |
| Users | Members, roles and invitations. See Members and roles. |
| Policies | Policy packs and manual inputs. See Frameworks, Custom policies and Manual inputs. |
| Usage | Plan limits and credit use. See Usage. |
| Data | Workspace import and export. See below. |
| Audit Log | Everything done in the account. See Audit log. |
| Security | Audit delivery to storage you own. See Audit log. |
Any member can read General. Editing it, and everything under Data, is for account admins.
General
Section titled “General”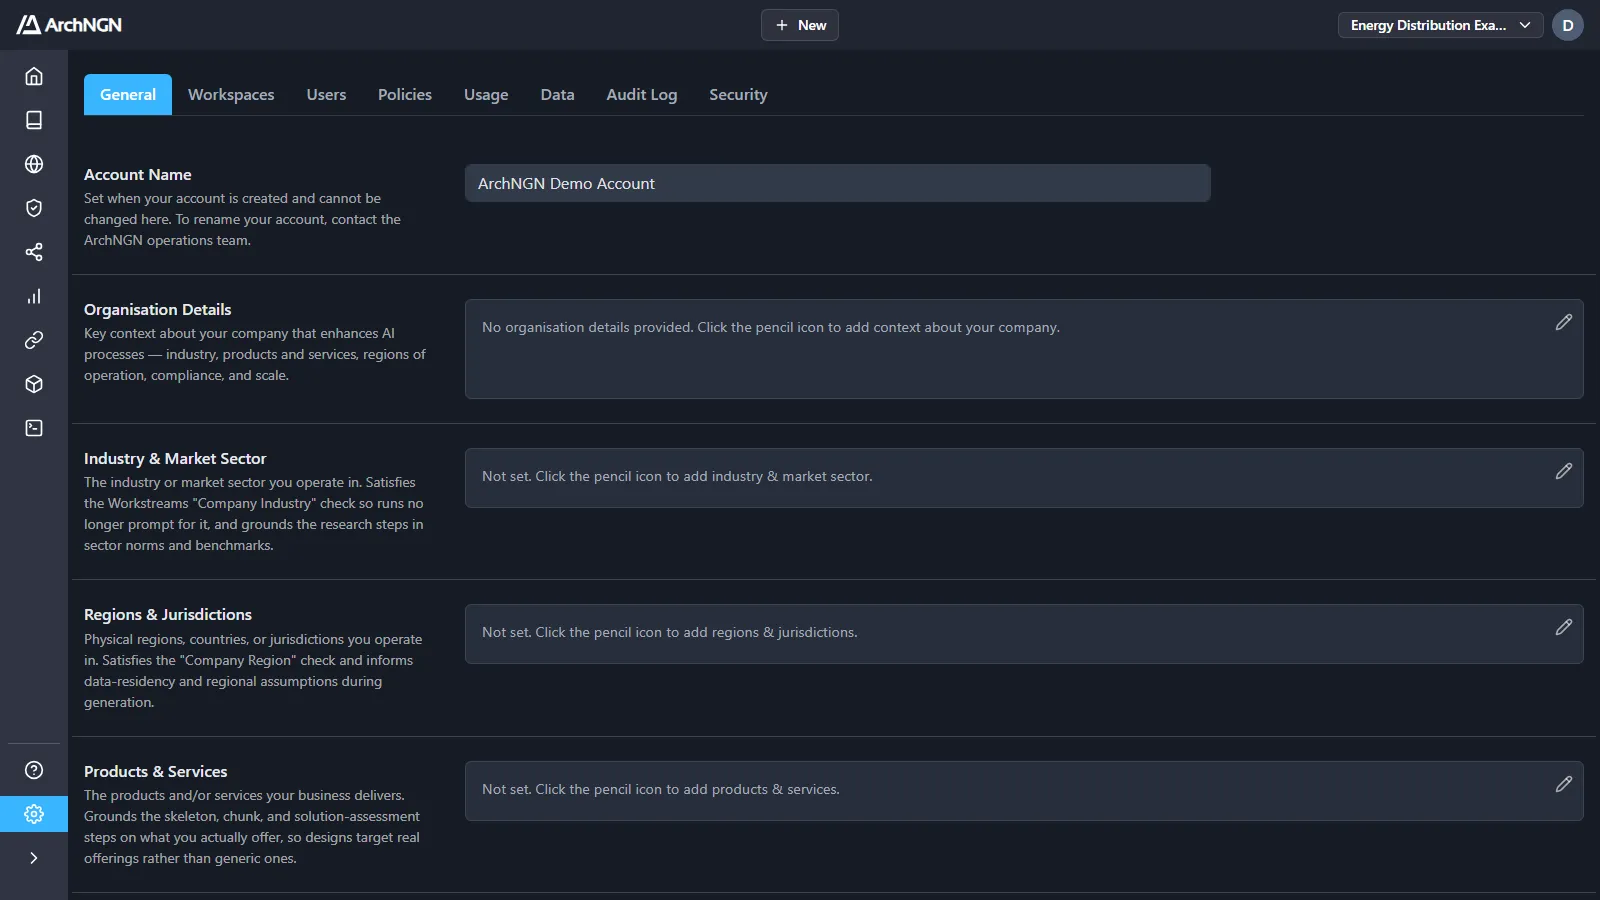
Account Name is set when your account is created and can’t be changed here. To rename your account, contact support@archngn.com.
Organisation details
Section titled “Organisation details”The rest of the page tells ArchNGN about your organisation, so workstreams design for your business rather than a generic one. Click the pencil beside a field to edit it.
| Field | What it informs |
|---|---|
| Organisation Details | Key context: industry, products and services, regions, compliance obligations and scale. Given to the AI as background for every job. |
| Industry & Market Sector | Sector norms and benchmarks in the research steps. Workstreams stop asking for your industry once it is set. |
| Regions & Jurisdictions | Data residency and regional assumptions. Workstreams stop asking for your region once it is set. |
| Products & Services | What you actually offer, so designs target real offerings. |
| Customer & Audience Segments | Who you serve, which shapes usage and scale assumptions and priorities. |
| Organisation Scale & Structure | Headcount, customer base and operating model, which shape non-functional assumptions and how recommendations fit the organisation. |
Changes apply to jobs started after you save. Keep each field short and factual: what the AI can’t infer from your model.
ArchNGN chooses the AI model for each kind of work itself, so there is no model setting. See AI model providers.
Workspace data
Section titled “Workspace data”Settings → Data imports and exports workspaces as ZIP archives, for backup, migration or audit.
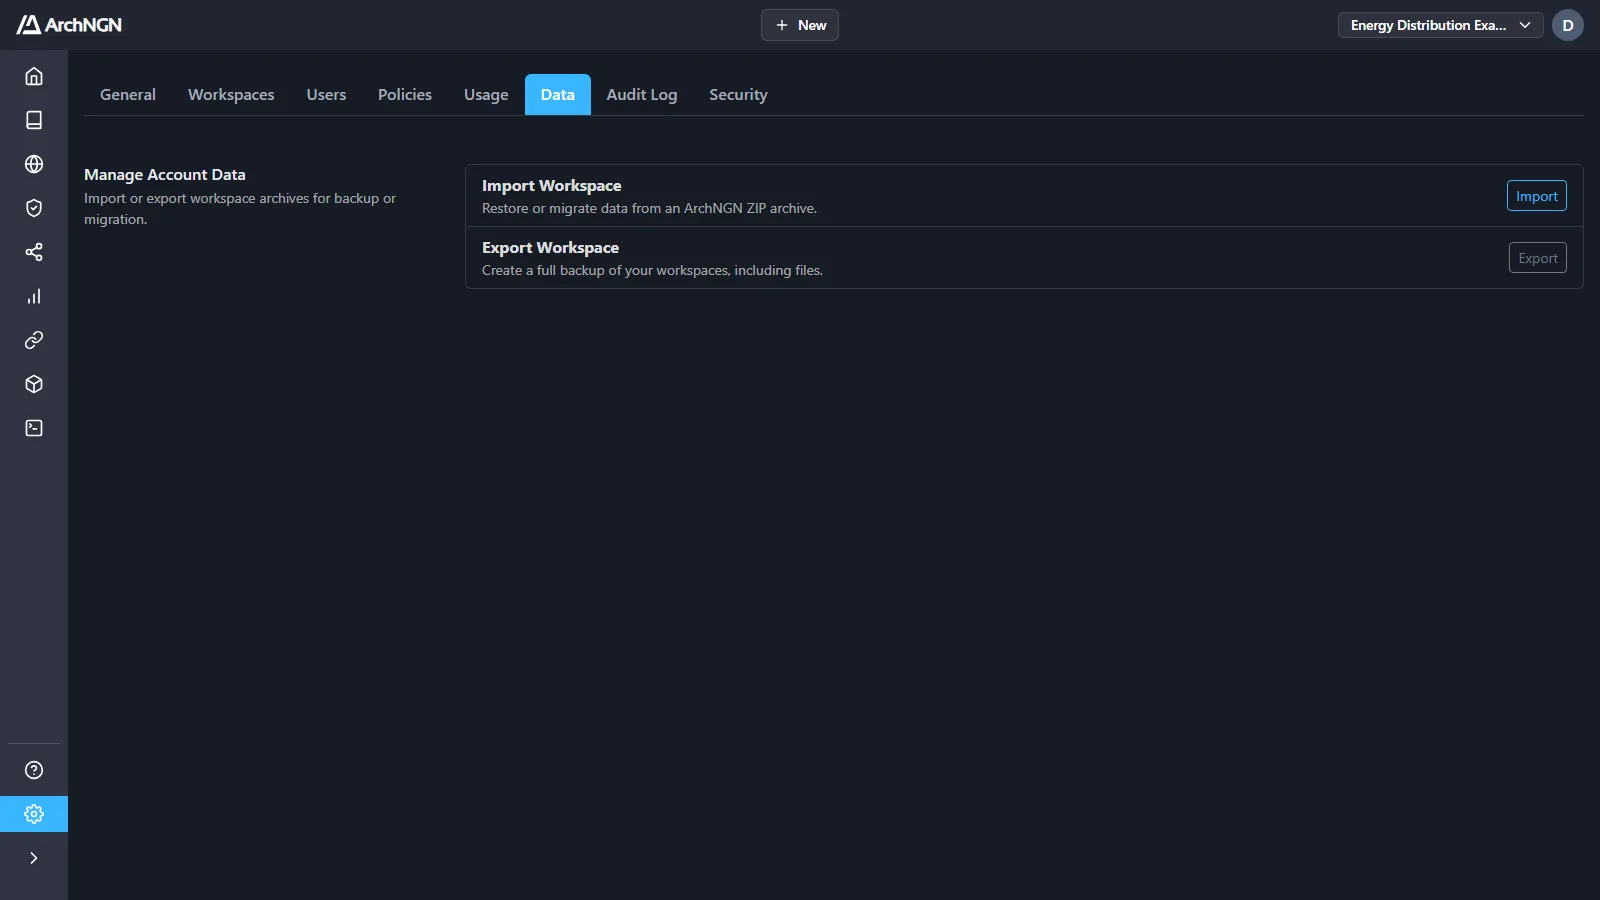
Export
Section titled “Export”Click Export beside Export Workspace. The archive is a full backup of your workspaces, including files: objects and associations, metamodel definitions, job history and attached files. The export runs as a job under Jobs → Account, and its details offer the archive to download.
Import
Section titled “Import”Click Import beside Import Workspace and choose an ArchNGN ZIP archive. ArchNGN reads the archive, detects duplicates and merges what is new. Review the summary before you confirm: an import can change existing objects and associations.